Follow the instructions below to implement the Payment Form and start accepting payments seamlessly.
Step 1: Create an order
This step describes how to create an order once your shopper is ready to pay.
The available endpoint destination URL:
| Environment | URL | Operation method & Endpoint | Operation description |
|---|---|---|---|
| PROD | api.sibsgateway.com | api/version-id/payments | Performs a request to prepare the checkout required data an returns with the Payment Form. |
| TEST | stargate-cer.qly.site[1|2].sibs.pt | api/version-id/payments | Performs a request to prepare the checkout required data and returns with the Payment Form. |
Regarding the required data to create the order, the process is simple, and it requires only a few actions:
Action 1: Define the header and add merchant and customer information
Action 2: Add transaction information to your order
Action 3: Configure Webhooks for transaction updates
Action 1: Define the header and add merchant and customer information
Check below the full description of the required data to start creating your order.
Header parameters
Request parameters
language code ISO 639-1
Customer language
This element is mandatory if intended payment method is one of the following:
“BNCT” – “Bancontact”;
“IDEL” – iDEAL;
“SFRT” – “Sofort”;
“PY24” – “Przelewy24”
address
Customer Address. When applicable used for shipping products.
boolean
Flag to identify if the billing address is the same of shipping address.
Action 2: Add transaction information to your order
Now, it is time to include your transaction information based on the payment methods you want to render in your paywall.
Request parameters: application/json
allowed values:
“PURS” – Purchase
“AUTH” – Authorization
Define the of payment used by the client.
allowed values:
“CARD”
“TOKEN”
“PBLKV”
“BLIK”
“XPAY”
“BNPL”
“SFRT”
“IDEL”
“BNCT”
“PY24”
“CRTB”
“MBWY”
Method of payment used by the client.
Action 3: Configure Webhooks for transaction updates
In this step, you will learn to set up webhooks to automatically receive with real-time transaction updates, keeping your payment status information current.
Here is an example of how to create an order.
Request body:
{
    "merchant": {
        "terminalId": 24,
        "channel": "web",
        "merchantTransactionId": "Order Id: 5hraff455o",
        "transactionDescription": "transaction short description",
        "shopURL": "https://mytest.e-shop.pl/"
    },
    "transaction": {
        "transactionTimestamp": "2023-05-16T10:33:43.587Z",
        "description": "transaction statement description",
        "moto": false,
        "paymentType": "PURS",
        "amount": {
            "value": 50.5,
            "currency": "PLN"
        },
        "paymentMethod": [
            "CARD",
            "BLIK",
            "PBLKV"
            "MBWY"
        ]
    }
}
Step 2: Create the payment form
To create the payment form you just need to add the following lines of HTML/Javascript to your page and populate the following variables that you got in response from the first step:
- The checkout’s transactionID that you got in the response from the first step:
<script src="https://stargate-cer.qly.site1.sibs.pt/assets/js/widget.js?id={transactionID}"></script>The formContext that you get in response from the first step and a formConfig:
<form class="paymentSPG" spg-context="{formContext}" spg-config="{formConfig}"></form>The formConfig is necessary for you to be able to create the form correctly.
formConfig -> spg-config=”{formConfig}”
{
  "paymentMethodList": [],
  "amount": {
    "value": 50.50,
    "currency": "PLN"
  },
  "language": "en",
  "redirectUrl": ""
}
The attribute attr.spg-config is a JSON in a string format with the follow parameters:
| Parameter | Type | Available values | Description |
|---|---|---|---|
| paymentMethodList | String | ‘CARD’ ‘TOKEN’ ‘BLIK’ ‘PBLKV’ ‘XPAY’ | Payment methods to show on the form. Only Payment Methods enabled on your account can be used. |
| amount | { value: number, currency: string } | – | Transaction amount value. |
| language | String | ‘cs’ ‘de’ ‘en’ ‘fr’ ‘nl’ ‘pl’ | Form language (ISO 639-1 Format). |
| redirectUrl | String | – | URL where the user should be redirected at the end of the checkout. |
You also have the option to add a formStyle to personalize your payment form. For more in-depth information, please go to Customized Form.
After the payment has been processed, a page displaying the transaction status is presented, and the customer is then redirected to the redirectUrl defined.
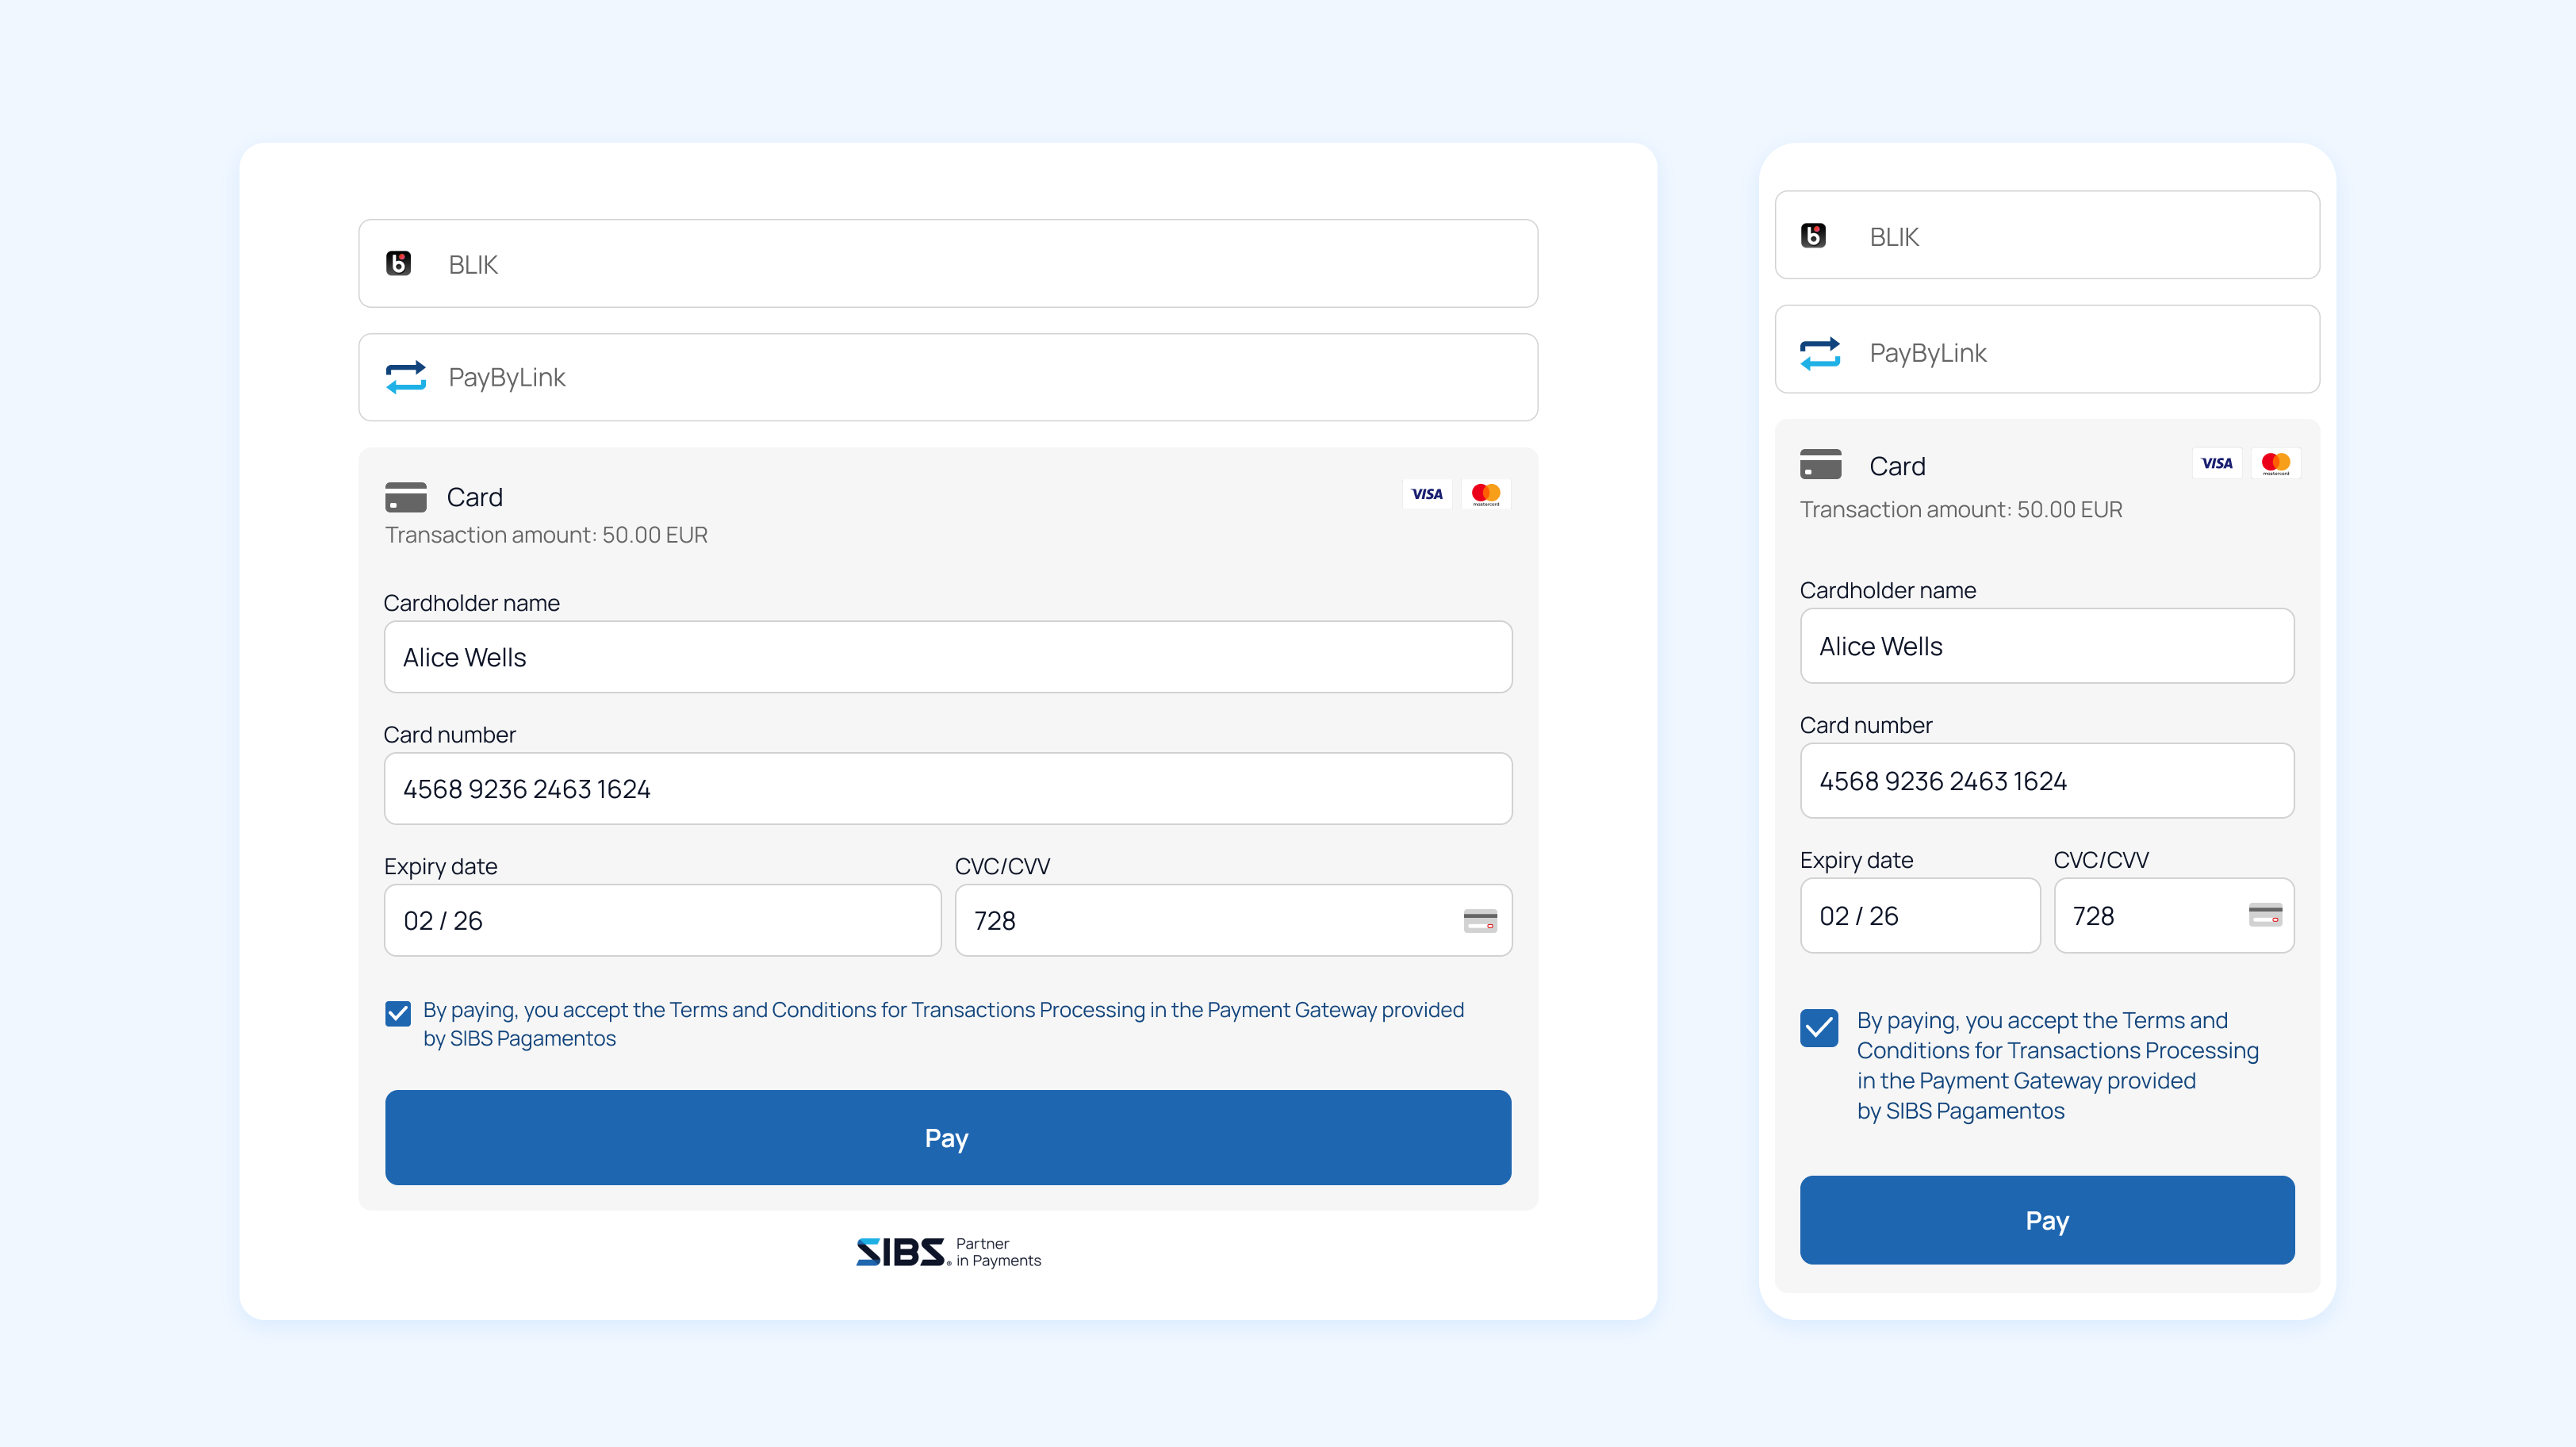
Below you can see the Payment Form (default look), into which customers can enter the details of the selected payment method and finalize the transaction:

Step 3: Get the payment status
You can check the status of your transaction making a GET request.
GET {transactionID}/statusRequest URL:
https://stargate-cer.qly.site1.sibs.pt/api/v1/payments/{transactionID}/statusRequest Headers:
Authorization: ‘Bearer <AuthToken>’
X-IBM-Client-Id: ‘<ClientId>
Content-Type: application/json